QR code readability across devices depends on a simple truth: a code is only useful when any camera can detect, focus on, and decode it quickly under real-world conditions. In QR code design, readability means the scanner correctly identifies the finder patterns, distinguishes dark modules from light background areas, and reconstructs the encoded data despite print imperfections, glare, motion blur, or low light. Across phones, tablets, retail scanners, and industrial imagers, success comes down to color choice, contrast ratio, quiet zone protection, module size, print quality, and testing discipline. I have seen attractive branded codes fail in stores because designers prioritized aesthetics over scan reliability, and I have also seen plain codes outperform expensive campaigns simply because they followed scanning fundamentals.
This matters because people scan with inconsistent hardware and inconsistent behavior. A flagship phone with computational photography may decode a stylized code from an angled poster, while an older budget Android device may struggle with the same symbol unless the contrast is strong and the modules are crisp. Front-facing social camera apps, native camera apps, payment apps, and warehouse handhelds do not all use the same decoding libraries or image-processing pipelines. That means a QR code that works on one device is not automatically robust everywhere. When brands use QR codes for payments, menus, packaging, event check-in, authentication, or omnichannel marketing, poor readability creates measurable losses: abandoned scans, slower queues, fewer signups, and reduced trust.
Color, contrast, and readability form the core of reliable QR design. Color is the visible styling layer, contrast is the measurable luminance difference that enables detection, and readability is the practical outcome across devices and environments. This article serves as the central guide for that subtopic. It explains which color combinations work, why contrast fails even when a design looks bold to the human eye, how print and screen surfaces change scan performance, what error correction can and cannot save, and how to test systematically before launch. If you need a dependable standard for creating branded QR codes that still scan on diverse devices, start here and treat every design decision as part of the scanning system, not just the artwork.
Why devices read the same QR code differently
Different devices decode QR codes differently because the camera sensor, autofocus speed, image stabilization, lens quality, screen brightness, software sharpening, and decoding library all affect the captured image before any QR detection begins. On modern iPhones and premium Android phones, higher dynamic range and faster autofocus often compensate for imperfect lighting. Older phones, lower-cost devices, and embedded retail scanners usually have narrower tolerances. I have repeatedly found that a code passing on a current flagship phone can still fail on a five-year-old Android with a scratched lens protector or on a supermarket scanner aimed through glossy packaging film.
Apps matter too. Some devices rely on the native camera for QR detection, while others use in-app scanners inside banking, social, or payment tools. These apps may crop frames differently, apply stronger noise reduction, or require tighter finder pattern recognition before decoding. Industrial handheld scanners often use dedicated optics and can outperform phones at long distance, but they may be less forgiving of unconventional styling. The practical lesson is clear: readability is cross-device performance, not one successful scan on your own phone. When a QR code is business critical, you should assume mixed hardware, mixed apps, and mixed lighting from the start.
How color affects QR code readability
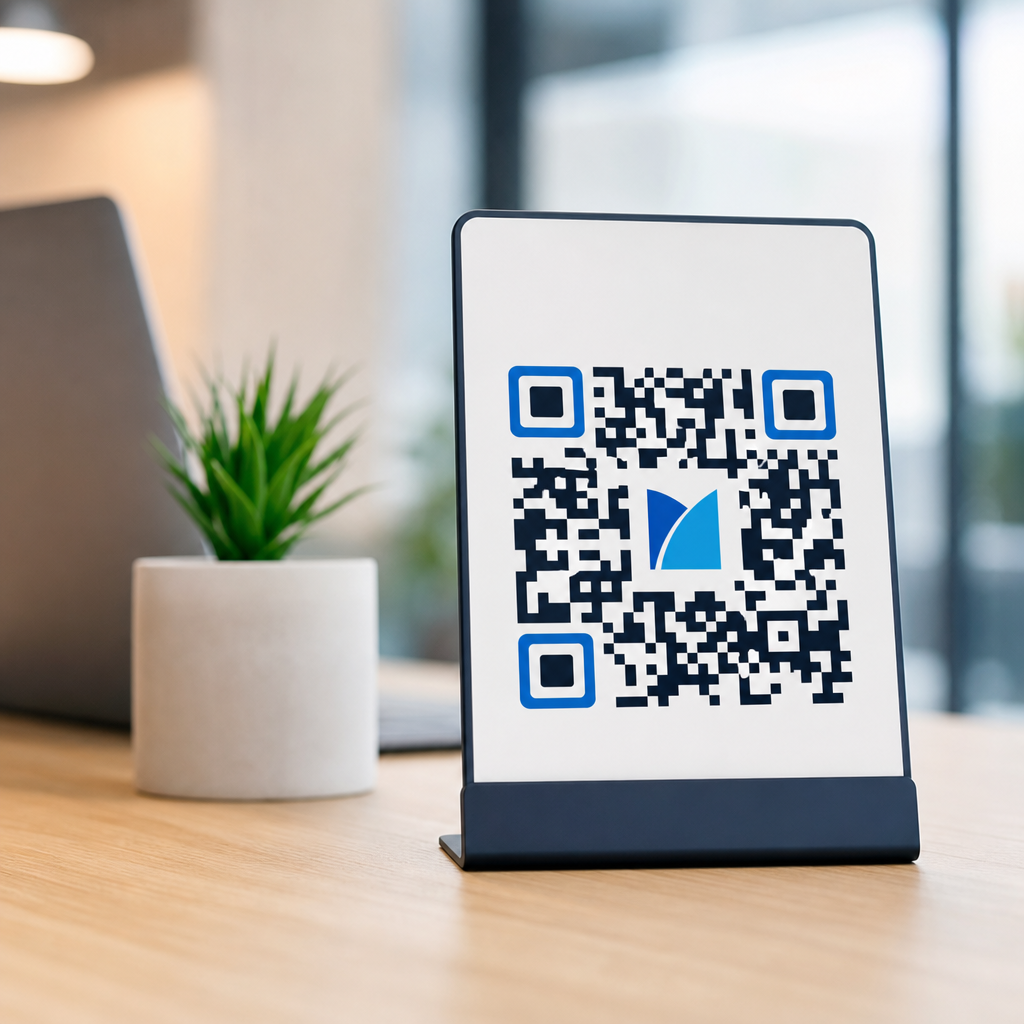
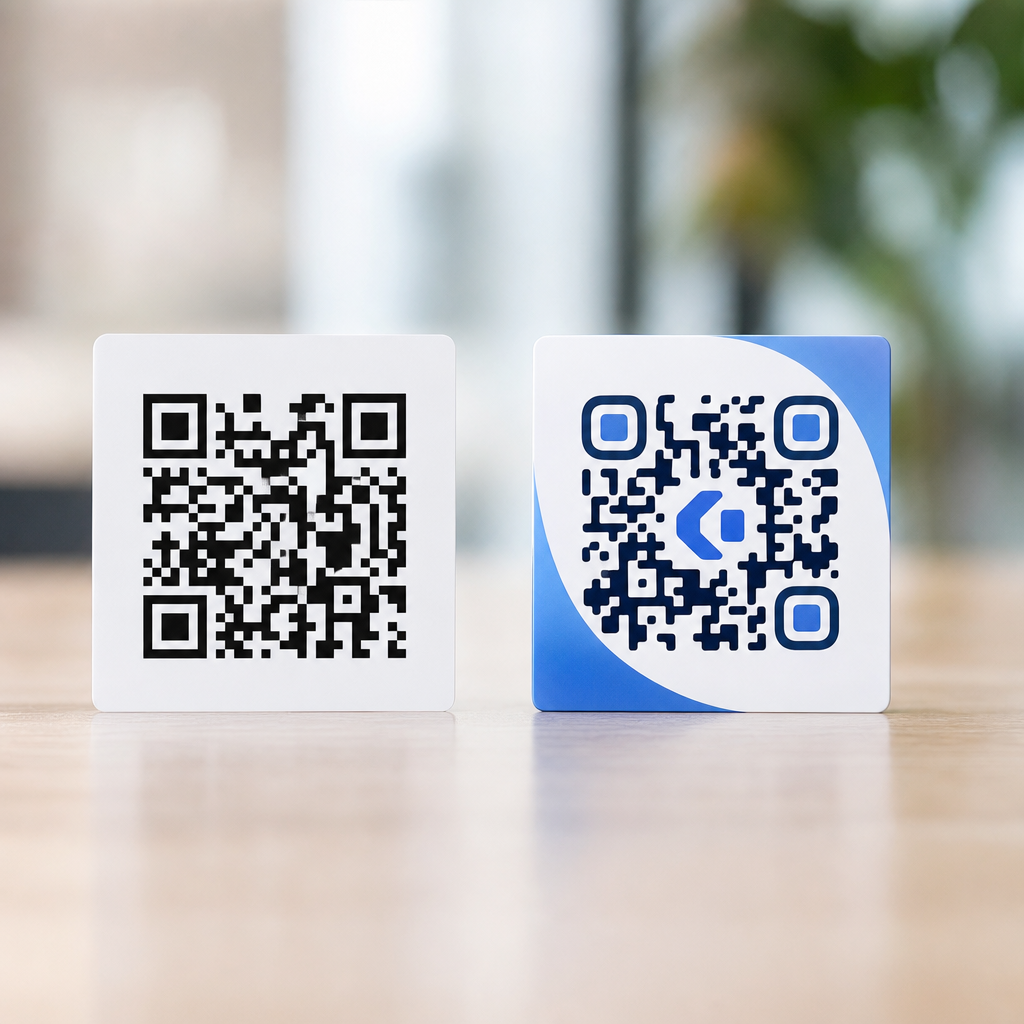
The safest rule for QR code color is dark foreground on a light background. Black on white remains the benchmark because it produces strong luminance contrast and predictable detection. Dark blue, deep green, and dark brown can also work well when the background is very light and uniform. Problems start when designers choose colors based on brand palette without considering how cameras interpret brightness. A red code on a black background may look vivid to the eye but often scans poorly because both colors can collapse into similar luminance values in grayscale processing. Many decoders effectively treat the image as tonal information first, not as sophisticated brand color.
In practice, pastel backgrounds, metallic inks, gradients, and transparent overlays create more failures than dramatic logos do. Yellow modules on white are especially risky, as are light gray modules on cream packaging. Reversed codes, such as white modules on black, may scan in some contexts but remain less reliable across devices and should be tested aggressively before use. If a branded look is required, keep the modules dark, preserve a solid light background, and contain brand expression in the frame, call to action, or landing page. Color should support readability, never compete with it.
Contrast is the nonnegotiable scanning signal
Contrast is the most important factor in QR code readability because decoders must clearly separate data modules from the background. Human perception is not a reliable judge here. Two colors can appear distinct in a design mockup yet produce weak grayscale separation on camera, especially under dim light or glare. I advise teams to assess contrast by converting the proposed design to grayscale and checking whether the modules remain obviously darker than the background. If they do not, the design is too risky for broad deployment.
Contrast failures usually appear first on small prints, low-end displays, and reflective surfaces. For example, a luxury cosmetics brand may prefer a muted rose code on beige packaging to match its visual identity, but if the packaging is glossy and displayed under retail spotlights, the reflected highlights can wash out the already subtle tonal difference. The scanner then sees inconsistent edges and broken finder patterns. Strong contrast gives the decoder clean edges, faster lock, and better resilience against blur. If you need one rule to preserve scan success, maximize luminance contrast before adjusting any other visual treatment.
Print, screens, and surfaces change readability
A QR code behaves differently on corrugated shipping boxes, matte brochures, LED screens, curved bottles, and laminated menus because each surface affects edge clarity and light reflection. Print introduces dot gain, ink spread, registration shifts, and substrate texture. On uncoated paper, tiny modules can soften and merge. On flexible plastic labels wrapped around bottles, curvature can distort the symbol and reduce the quiet zone near edges. On glossy materials, reflections can obscure entire finder patterns. In production, these are common causes of scan failure, even when the original artwork file is technically correct.
Screen-based QR codes have their own constraints. OLED displays can produce excellent contrast, but low brightness, cracked protectors, moire patterns, and motion during presentation reduce readability. Large venue screens may pixelate diagonal edges if the code is undersized relative to display resolution. A code on a smartwatch or small kiosk can fail simply because the module grid is too fine for the camera to resolve at a normal scanning distance. For physical and digital deployment, always match code size, output resolution, and expected scan distance to the surface, not just to the design template.
Core design rules that protect readability
Reliable QR codes follow several design rules consistently. First, preserve the quiet zone, the blank margin around the symbol, typically at least four modules wide on every side. Without that isolation, scanners may confuse nearby graphics, text, or packaging edges with the code boundary. Second, maintain adequate module size. If the code contains a long URL and therefore a dense matrix, shrinking it to fit a business card corner often creates modules too small to print or display cleanly. Third, protect the finder patterns and alignment patterns from decoration. Stylized eyes can work, but heavy modification increases cross-device risk.
Error correction helps, but it is not a license for poor design. QR codes support levels L, M, Q, and H, with higher levels allowing more damage recovery at the cost of increased density. In branded applications with a centered logo, level Q or H is often justified, yet excessive density can offset the benefit by producing smaller modules. I generally treat error correction as an insurance layer, not a primary readability strategy. Strong contrast, correct sizing, and preserved quiet zones contribute more to broad device compatibility than decorative complexity paired with maximum error correction.
| Design factor | Best practice | Common failure | Device impact |
|---|---|---|---|
| Foreground and background | Dark modules on a light, solid background | Low-contrast brand colors or gradients | Older phones and retail scanners fail first |
| Quiet zone | Minimum four modules on all sides | Text, borders, or images too close | Detection slows or fails entirely |
| Module size | Match density to print size and scan distance | Dense code shrunk too small | Blur and pixel loss prevent decoding |
| Error correction | Use M or Q by default; H for logo-heavy designs after testing | Relying on H to excuse poor contrast | Symbol becomes denser and less forgiving |
| Surface finish | Prefer matte or controlled lighting | Gloss, foil, or curved placement | Glare masks finder patterns |
Branded QR codes: what customization is safe
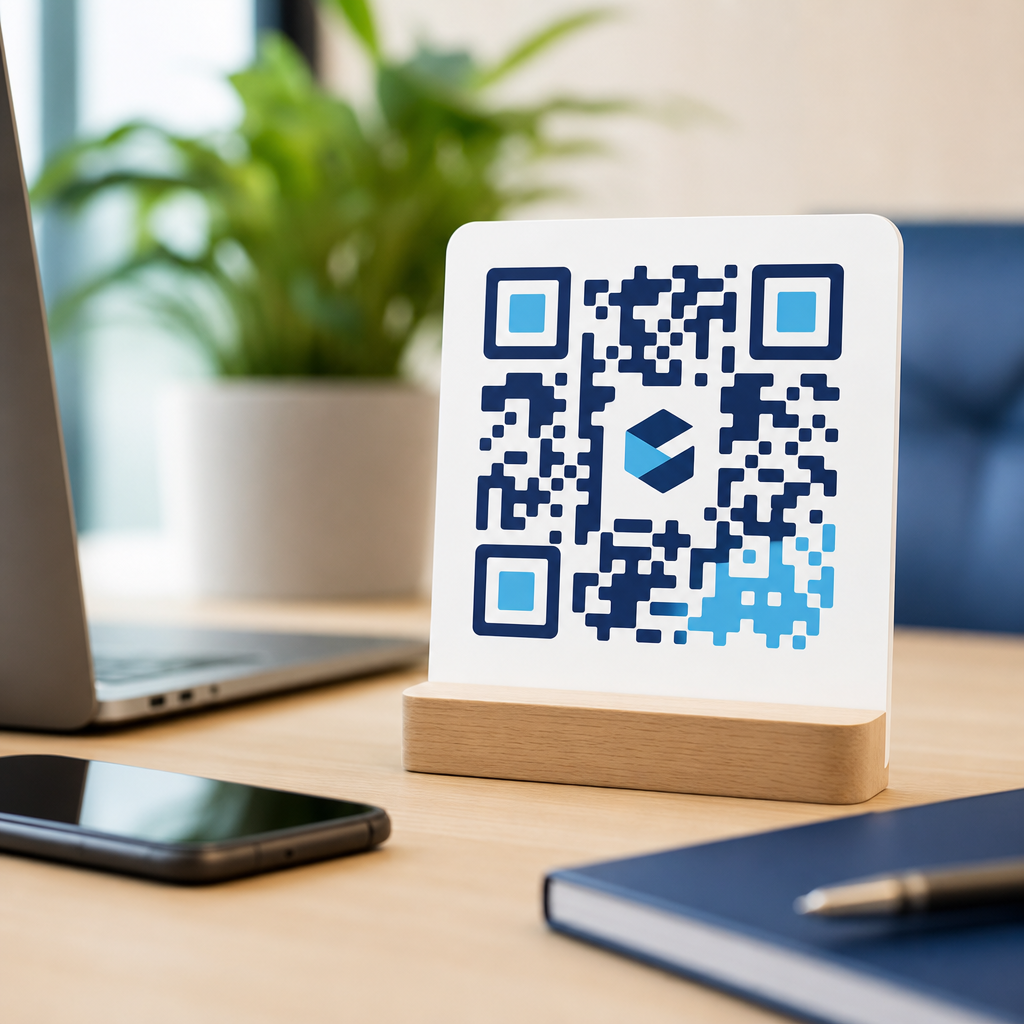
Branding a QR code is possible without destroying readability, but the safest customizations are structural light touches rather than dramatic visual experiments. A small centered logo, subtle frame, branded call-to-action, and dark-on-light palette usually preserve performance. Rounded modules can work if spacing remains clear and the finder patterns stay unmistakable. Custom eye shapes are acceptable when they maintain the original geometry and contrast. In campaigns I have managed, the best-performing branded codes were recognizable as part of the visual identity without forcing the symbol itself to carry every brand element.
Unsafe customizations include transparent backgrounds over busy images, multicolor gradients crossing finder patterns, low-opacity modules, heavy drop shadows, and decorative borders intruding on the quiet zone. Another common mistake is embedding a logo so large that it removes too many central modules and then relying on high error correction to compensate. That may pass internal tests on newer phones and still fail at outdoor events or in dim restaurants. If the code must be highly stylized, shorten the destination URL or use a dynamic short link to reduce matrix density first, then test at real output size.
How to test QR code readability across devices
Testing should simulate actual use, not ideal studio conditions. Build a device set that includes current iPhone and Android models, at least one older midrange Android, a tablet, and any relevant in-app scanners such as payment or social apps. If the code will appear in retail, test with a common handheld scanner as well. Evaluate under bright daylight, office lighting, dim indoor conditions, and with intentional screen glare or packaging reflection. Scan from expected user distances and angles. Record time to first successful decode, not just pass or fail.
Use recognized tools during creation and validation. Generator platforms such as QR Code Generator Pro, Bitly, or Beaconstac can produce dynamic codes and track revisions, while verification can involve multiple camera apps, browser-based checks, and print proofs inspected with a loupe for edge quality. If a code will be printed, insist on physical proofs from the actual substrate and press process. A digital PDF proof cannot reveal ink spread or laminate glare. Test every final placement, because a code that scans on a flat artboard can fail once reduced, wrapped, embossed, or placed beside competing graphics.
Common readability mistakes and how to avoid them
The most common mistake is designing for appearance on a calibrated monitor rather than for a camera in ordinary hands. Teams approve subtle color combinations, miniature placement, or image overlays because the code scans once during design review. Problems appear later in stores, on delivery boxes, or during live events. Another frequent error is encoding long URLs with tracking parameters directly into the symbol. That increases matrix complexity and often forces the final code below minimum practical size. Using a short dynamic URL keeps the symbol simpler, easier to scan, and easier to update later.
Accessibility is also often overlooked. Good QR readability overlaps with inclusive design because stronger contrast and clearer placement help users with low vision, older devices, or unsteady hands. Add a plain-language call to action near the code, avoid placing it on folds or seams, and provide enough surrounding whitespace so users can frame it easily. When the QR code leads to an essential function such as payment or verification, provide a fallback short URL as well. Better readability is not only a design win; it reduces friction, protects conversions, and makes branded QR experiences dependable across devices. Audit your current codes, tighten contrast, and test every deployment before it goes live.
Frequently Asked Questions
1. What factors most affect QR code readability across different devices?
QR code readability is influenced by a combination of size, contrast, print quality, lighting conditions, scanning distance, and the camera or scanner being used. At a basic level, every device must be able to detect the QR code’s finder patterns, separate dark modules from the lighter background, and decode the data without confusion. If any of those steps fail, scan performance drops quickly. That is why a code that works perfectly on one modern smartphone may struggle on an older phone, a retail handheld scanner, or an industrial imager operating in poor light.
Physical size is one of the most important variables. If the code is too small for the expected scanning distance, the camera cannot capture enough detail to distinguish the module grid accurately. Contrast also matters greatly. Dark modules on a light, non-reflective background remain the most dependable option because low contrast, gradients, and glare can make it harder for devices to separate foreground from background. Print sharpness is equally critical. Blurry edges, ink spread, pixelation, or low-resolution output can distort module boundaries and reduce decoding accuracy.
Real-world environmental conditions add another layer. Motion blur, shadows, shiny packaging, curved surfaces, and uneven lighting can all interfere with scanning. Different devices handle these challenges differently. Newer phones may compensate with better autofocus and image processing, while older cameras and dedicated scanners often require cleaner conditions. In practice, the most reliable QR codes are designed with generous margins, strong contrast, sufficient size, and realistic testing across multiple devices rather than relying on ideal on-screen previews alone.
2. How large should a QR code be to scan reliably on phones, tablets, and scanners?
There is no single perfect size for every use case, but a reliable rule is that QR code size should match the expected scanning distance and the amount of data encoded. Larger codes are generally easier to scan because each module becomes easier for the device to resolve. If you encode more data, the QR code becomes more complex, which means the modules get smaller within the same overall dimensions. That increased density can make the code harder to read, especially on lower-quality cameras or in less-than-ideal conditions.
For close-range use, such as a flyer, business card, product insert, or tabletop display, a QR code often needs to be at least around 2 x 2 cm to 3 x 3 cm, though larger is usually safer. For posters, signs, packaging viewed at arm’s length, or shelf labels scanned with retail devices, the code should scale up accordingly. A common planning guideline is to allow roughly 1 inch of code size for every 10 inches of scanning distance, but this should be treated as a starting point rather than a guarantee. Device quality, code density, lighting, and surface material all influence the result.
To improve reliability, avoid making the code smaller just to fit a design layout. Instead, reduce the amount of encoded data when possible, use a short URL, and preserve a proper quiet zone around the symbol. It is also smart to print and test the actual production size rather than approving a digital mockup. A QR code that looks crisp on a monitor may become difficult to scan once printed on textured material, reduced in size, or placed in a reflective environment.
3. Why are contrast and the quiet zone so important for QR code readability?
Contrast and quiet zone are fundamental because they help the scanning device recognize where the QR code begins and how its internal structure is organized. High contrast makes the dark modules stand out clearly from the light background, which is essential for detection and decoding. If the code uses low-contrast colors, translucent overlays, busy backgrounds, or glossy finishes that create reflections, the scanner may struggle to determine which areas are data and which are not. This can slow down scanning or cause complete failures on certain devices.
The quiet zone is the clear margin around the QR code that must remain free of text, graphics, borders, or patterns. It acts like breathing room for the scanner, allowing it to isolate the symbol from nearby visual noise. Without enough quiet zone, the camera may misread adjacent elements as part of the code or fail to locate the finder patterns correctly. Even a technically valid QR code can become unreliable if the surrounding layout crowds the edges too tightly.
In best practice, use a light, solid background with dark modules, and maintain the recommended clear space around all sides of the symbol. Avoid placing QR codes on patterned images, metallic packaging, transparent labels, or heavily colored backgrounds unless they have been thoroughly tested. Design customization can still be used, but it should never undermine contrast or edge separation. When readability matters across a wide range of consumer and professional devices, clarity consistently outperforms decoration.
4. Does QR code customization, branding, or adding a logo reduce scan performance?
Customization can reduce scan performance if it interferes with the structural elements scanners rely on, but it does not automatically make a QR code unreadable. Branded QR codes with custom colors, rounded modules, embedded logos, or stylized shapes can still work well when they preserve the core geometry and maintain strong contrast. The problem arises when aesthetic choices become too aggressive and compromise finder patterns, alignment patterns, module definition, or background separation.
Adding a logo in the center is common, and QR codes can often tolerate it because of built-in error correction. However, error correction is not a license to cover large portions of the symbol carelessly. The more you obstruct or alter the code, the smaller the margin for real-world issues like blur, glare, low light, poor print quality, or older camera hardware. A code that scans in a design app or on one flagship phone may fail in a store aisle, on a cracked phone screen, or under fluorescent lighting.
The safest approach is to customize conservatively. Keep the finder patterns highly visible, use dark-on-light contrast, avoid thin or decorative module shapes that distort the grid, and do not let logos consume too much central area. Most importantly, test customized versions on multiple devices and in realistic conditions. Branding should support usability, not compete with it. If a design choice makes users pause, reposition their phone repeatedly, or move to brighter light, it is already reducing effectiveness.
5. What is the best way to test QR code readability across devices before publishing or printing?
The best testing process combines technical validation with real-world scanning trials. Start by confirming that the QR code is generated correctly, links to the intended destination, and uses an appropriate error correction level for the application. Then evaluate the final code in its actual format: printed at production size, displayed on the intended screen, or applied to the real packaging or sign material. Testing only the source file is not enough, because readability problems often appear after resizing, printing, lamination, or placement in a physical environment.
Use a range of devices for testing, including newer and older smartphones, both iOS and Android where possible, tablets, and any dedicated retail or industrial scanners relevant to the environment. Test under different conditions, such as bright daylight, indoor overhead lighting, low light, glare, angled viewing, and typical user distances. Try fast scans as well as less careful, real-user behavior. If the code only scans when the camera is held perfectly still and square to the surface, it is not robust enough for widespread deployment.
It is also important to test edge cases: partially worn labels, curved surfaces, matte versus glossy finishes, and codes placed near other graphics. Measure how quickly devices detect and decode the symbol, not just whether they eventually succeed. A good QR code should scan quickly and consistently with minimal user effort. If scan speed varies widely across devices, consider increasing size, simplifying the encoded content, improving contrast, or reducing design complexity. Thorough pre-launch testing is what turns a technically functional QR code into one that performs reliably in the real world.