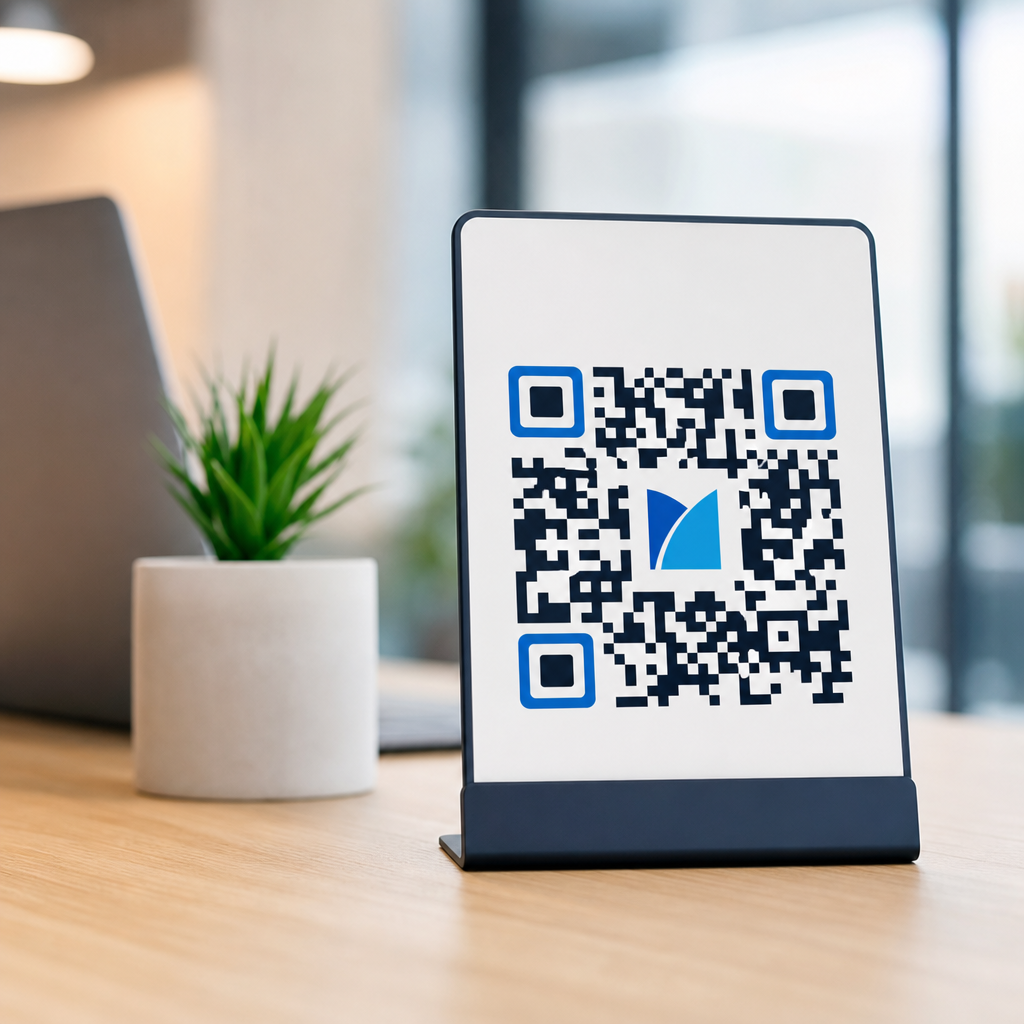
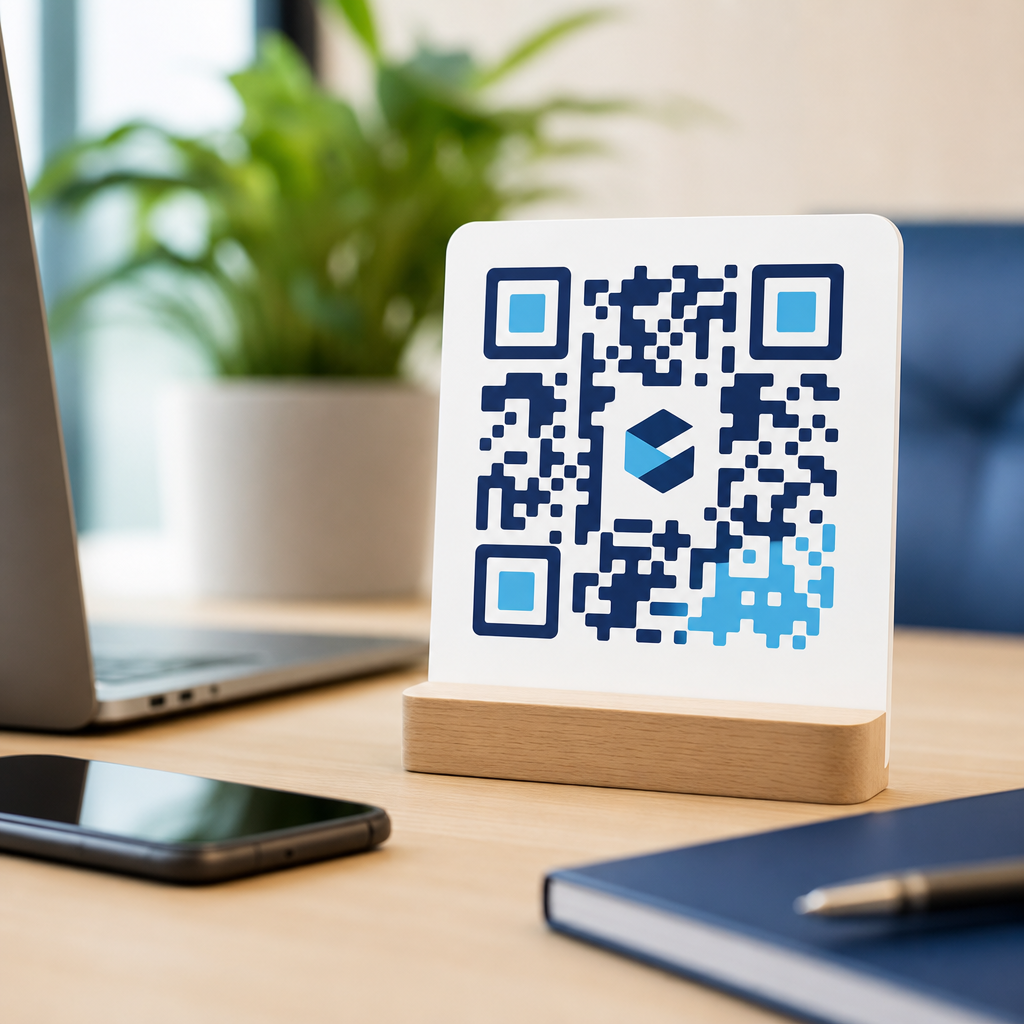
A logo inside a QR code can dramatically improve brand recognition, but the logo must be sized carefully so the code stays scannable across phones, lighting conditions, print materials, and viewing distances. In practical terms, most branded QR codes work best when the logo occupies about 15% to 25% of the total code area, with 20% serving as a reliable starting point for testing. Go larger than that without adjusting error correction, contrast, quiet zone, and module density, and scan performance usually drops fast.
That sizing question matters because logo integration in QR codes sits at the intersection of branding and machine readability. A QR code is not simply a square image with room for decoration. It is a matrix barcode made of modules, finder patterns, timing patterns, alignment patterns, format information, and encoded data. When a logo covers the center, it blocks some of that data. The code can still work because QR codes include Reed-Solomon error correction, but only within strict limits. The practical result is simple: a logo can make a QR code more trustworthy and more memorable, yet every extra pixel devoted to branding reduces the scanner’s margin for error.
In client work, I have seen the same pattern repeatedly. Marketing teams want the logo as large as possible because they are thinking about campaign recognition. Operations teams want no logo at all because they are thinking about scan reliability. The right answer is neither extreme. A branded QR code should preserve instant recognition while maintaining strong first-scan success on average consumer devices. That means designing around conditions in the real world: scratched packaging, low-ink labels, curved bottles, matte posters, dim retail aisles, and social images compressed by apps.
This article is the hub for logo integration in QR codes. It explains how big a logo should be, what technical variables determine the safe range, when larger logos can work, and how to test branded codes before publication. It also connects the broader design decisions that affect logo placement, shape, contrast, and print execution. If you need one working rule, use a centered logo sized near one fifth of the code area, keep high contrast, use high error correction, and test across multiple devices before rollout.
Recommended logo size ranges and the safest starting point
The most useful answer to “How big should a logo be in a QR code?” is this: start at 20% of the total code area, then test upward only if the code scans instantly under less-than-ideal conditions. Many designers talk about percentage in terms of width, but area is the more accurate measure because a square logo that is 30% of code width covers roughly 9% of width on each side yet consumes much more central area than people expect. In practice, if the logo box is around 15% to 20% of code width, it often lands in the workable area range for standard marketing uses.
Why is 20% a common recommendation? Because it balances two opposing forces. First, a visible logo has to be large enough for immediate recognition at the final display size. Second, the QR pattern around that logo must retain enough intact data modules for the decoder to reconstruct the content. For most branded campaigns using dynamic URLs, a moderate data payload, and high error correction, a center logo around that size remains readable if other design choices are disciplined.
There is no universal maximum because QR codes vary by version, encoded length, and output context. A short URL encoded in a higher version than necessary may create spare visual density that tolerates a logo better. A vCard, Wi-Fi credential, or long UTM-tagged URL creates denser modules and leaves less room for visual obstruction. The safe size therefore depends on data density first, branding goals second. When teams ignore that order, scan problems follow.
Larger logos can work in controlled cases, especially when the QR code is physically large, printed sharply, and contains minimal data. I have approved center marks approaching 25% of area for retail signage that was tested at distance on current iPhone and Android devices. I have also rejected 15% logos on tiny cosmetic labels because the code version was dense, the substrate was reflective, and the available print area was cramped. Size guidance only makes sense when tied to context.
What actually limits logo size inside a QR code
The hard limit on logo size is set by recoverability, not aesthetics. QR codes use four standard error correction levels: L, M, Q, and H. Those levels allow the code to recover from approximately 7%, 15%, 25%, and 30% data loss respectively. Designers often misread those figures and assume a 30% logo is safe at level H. It is not. The logo does not remove data in a perfectly recoverable way, and real scanning conditions introduce blur, glare, perspective distortion, and low contrast on top of the covered area.
Central obstruction is generally more forgiving than damage near finder patterns, but the center still matters. The timing pattern, alignment pattern behavior, and module geometry all influence decoding. Modern scanners on iOS, Android, WeChat, and industrial apps are robust, yet they are still relying on a clean enough pattern to identify orientation, sample the grid, and correct errors. Once the surrounding modules become too dense or too stylized, the logo becomes only one of several stacked risks.
Quiet zone is another common failure point. Every QR code needs a clear margin around the symbol, typically four modules wide. Designers who enlarge a logo often compensate by shrinking the code or crowding it with text, background graphics, or a frame. That tradeoff is dangerous. If the quiet zone is compromised, scanners may struggle before the logo size even becomes relevant. In many failed branded codes I have audited, the central logo was not the sole problem; the missing quiet zone was equally responsible.
Print production also imposes limits. Digital screens can render crisp module edges, but print introduces dot gain, misregistration, ink spread, varnish glare, and substrate texture. A logo that tested well on screen may fail on corrugated board or metallic film. The smaller the final printed code, the less tolerance you have for a large center mark. That is why logo size decisions should always be made after finalizing the minimum print size and expected scanning distance.
How data density, code version, and payload type affect logo integration
If you want a bigger logo, reduce data density before changing anything else. This is the single most effective lever. Use a short redirect URL instead of a long direct URL with multiple campaign parameters. Prefer dynamic QR codes managed in platforms such as Bitly, QR Code Generator Pro, Beaconstac, or Flowcode, because they let you keep the encoded string short while updating the destination later. A shorter payload often means a lower QR version with larger modules, and larger modules improve resilience.
Payload type matters just as much. A simple HTTPS link is usually the easiest content for branded QR codes. By contrast, vCards, calendar events, app deep links with tracking strings, PDF links with long file paths, and Wi-Fi configurations increase complexity. More complexity means more modules in the same square, which shrinks the visual cells the scanner must resolve. Once module size gets too small, any logo overlay becomes proportionally more disruptive.
Version selection should be intentional. Some code generators automatically create the smallest possible version for the data. Others let you set a larger version manually. A slightly larger version is not always better. It can increase overall module count and create unnecessary density. The better approach is to use the lowest version that fits the payload cleanly, then enlarge the physical output size if you need a stronger visual presence. Physical size improves scanability; excessive encoded complexity does not.
File format plays a role too. For print, export vector formats such as SVG, EPS, or PDF whenever available. Raster PNG files are acceptable for digital use, but low-resolution exports can soften edges, especially after resizing in design software. If you place a logo in the center, the modules around it need to remain sharply defined. Edge softness plus central obstruction is a bad combination.
Best practices for logo placement, shape, contrast, and protective spacing
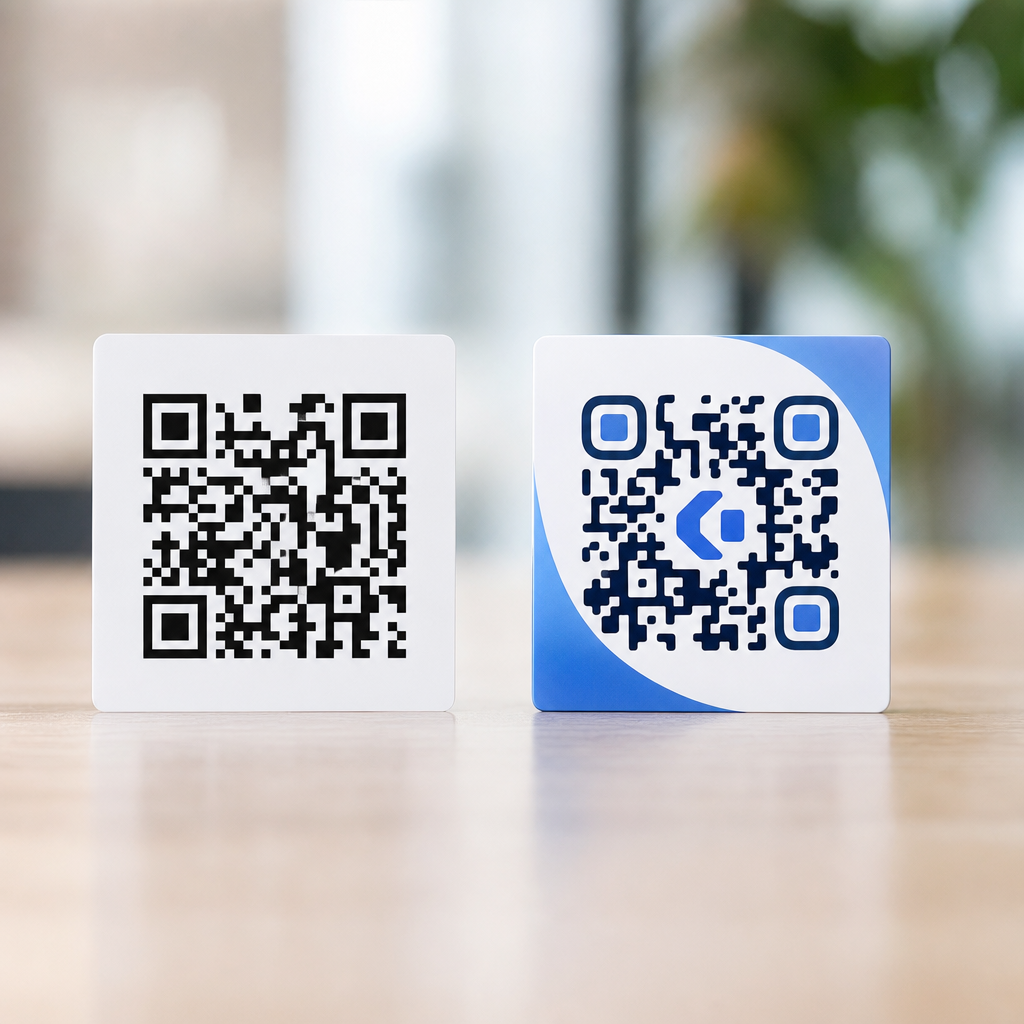
Placement should almost always be centered. A centered logo distributes the disruption more evenly and avoids interference with corner finder patterns, which are essential for detection. Off-center logos can work, but they create asymmetric risk and should only be used after device testing. Shape matters as well. Circular or softly rounded logo containers often perform better visually because they avoid sharp corners cutting awkwardly across module patterns, though the scanning benefit comes mainly from preserving a consistent clear area around the mark.
A protective white underlay, often called a knockout or padding zone, is strongly recommended. Do not place the logo directly over active modules without separation. The white field creates visual clarity for the brand mark and reduces interference from surrounding dark modules. In most successful designs, that underlay extends several modules beyond the visible logo on every side. This padding is part of the effective logo footprint, so include it when calculating total covered area.
Contrast remains nonnegotiable. The standard best practice is dark modules on a light background. Brand colors can work if the luminance contrast is high enough, but pale colors, gradients, metallics, and translucent effects reduce reliability. A logo with intricate details, thin lettering, or low-contrast brand colors may need its own simplified mark for QR use. Many companies already maintain responsive logo systems; the QR version should use the simplest symbol, not the full lockup.
| Design factor | Recommended approach | Common failure |
|---|---|---|
| Logo size | Start near 20% of code area and test | Expanding beyond 25% without compensating changes |
| Error correction | Use level H for most branded codes | Assuming high correction guarantees any logo size |
| Placement | Center the logo | Shifting toward finder patterns |
| Underlay | Add a white knockout around the logo | Overlaying the logo directly on modules |
| Contrast | Dark code on light background | Using gradients, low contrast, or transparent fills |
| Quiet zone | Preserve at least four modules clear | Crowding the code with text or borders |
| Payload | Use short dynamic URLs when possible | Encoding long strings and dense data |
| Testing | Check multiple phones and print conditions | Approving only from a desktop preview |
Testing methods that prevent branded QR code failures
Testing is where good logo integration stops being theoretical. I use a simple validation process. First, scan the code on at least three current devices: one recent iPhone, one flagship Android, and one mid-range Android with an average camera. Second, test under bright light, normal indoor light, and low light. Third, print the code at final size on the actual substrate or the closest equivalent. Fourth, test at realistic approach distances and angles. If any of those scenarios produce hesitation, resizing, or repeated scan attempts, the logo is too ambitious or another design factor is off.
A successful branded QR code should scan on the first try in one to two seconds. If users need to hold perfectly still, move closer than expected, or increase screen brightness manually, that friction will reduce campaign performance. This matters even more in packaging, out-of-home advertising, events, and restaurant tables, where people are scanning casually rather than with deliberate patience. Friction destroys response rates.
Analytics can reveal subtle problems after launch. Dynamic QR platforms often report total scans, device types, locations, and time trends. If a code displayed prominently underperforms similar placements, investigate the design, not just the offer. I have seen underperforming restaurant table tents improve materially after simplifying the logo treatment and restoring a wider quiet zone. The destination page stayed the same; only the QR execution changed.
It also helps to maintain version control. Save the exact generator settings, error correction level, source file, export format, and tested print dimensions. That documentation lets teams reproduce a successful branded code and avoid “helpful” last-minute edits from printers or social media managers. Small alterations, such as compressing a PNG in messaging apps or placing the code over a textured background, can undo an otherwise sound design.
When to use a logo, when to avoid it, and how this hub connects the topic
A logo is worth using when brand trust affects scan behavior, when the code appears in competitive visual environments, or when repeated exposure makes recognition valuable. Packaging, storefront windows, product inserts, direct mail, and trade show signage are strong candidates. In these settings, a logo helps users understand who is asking for the scan. That reassurance can lift engagement, especially where phishing concerns or unfamiliar landing pages might create hesitation.
Skip or minimize the logo when the code must work in harsh conditions: tiny labels, etched surfaces, warehouse environments, long-distance scans, industrial workflows, or situations where every fraction of a second matters. In operational contexts, reliability is the brand experience. A plain black-and-white code often outperforms a heavily customized one, and that is the correct choice.
As a hub for logo integration in QR codes, this topic naturally branches into several deeper design questions. Teams typically next need guidance on choosing the right error correction level, simplifying brand marks for QR use, preserving quiet zone with frames and calls to action, selecting code size for print and screen, and testing across packaging materials. They also need rules for colored QR codes, inverted color schemes, and dynamic versus static payload strategy because those decisions directly affect how large a logo can be.
The key takeaway is straightforward. Make the logo noticeable, not dominant. Start around 20% of the QR code area, keep it centered, use level H error correction, preserve contrast and quiet zone, shorten the payload, and validate the final asset in real conditions. Done well, logo integration makes a QR code feel intentional and branded without compromising performance. Use these principles as your standard, test every production variant, and build your QR code design system from proven scans rather than assumptions.
Frequently Asked Questions
What is the ideal logo size inside a QR code?
In most cases, the safest and most effective logo size is about 15% to 25% of the total QR code area, with 20% being a strong starting point for real-world testing. That range usually gives you a good balance between branding and scan reliability. A logo that is too small may not add much visual identity, while a logo that is too large can cover too many data modules and make the QR code harder to scan. The reason this range works so well is that it leaves enough of the code visible for scanners to read the pattern accurately while still making the brand mark noticeable at a glance.
That said, there is no single perfect percentage for every QR code. The right size depends on the amount of encoded data, the error correction level, the physical size of the printed or displayed code, the viewing distance, and the quality of the contrast between foreground and background. A simple URL encoded into a large QR code with high error correction can usually tolerate a larger central logo than a dense code containing more data. For that reason, 20% should be treated as a practical benchmark, not a universal rule. The best approach is to start there, then test the code across different phones, screen brightness levels, lighting conditions, and print formats before finalizing the design.
Can a logo be too big in a QR code?
Yes, absolutely. A logo can definitely be too big, and once it crosses that threshold, scan performance often drops quickly. QR codes rely on a grid of small modules that together store the data. When a logo covers too much of that grid, scanners lose access to important information and may fail to decode the code, especially on older smartphones, lower-quality cameras, or in less-than-ideal environments. Even if a code scans on your own device, that does not mean it will scan consistently for everyone else.
Problems become more common when you push past the typical 25% area range without making supporting design adjustments. If the logo grows larger, you may need higher error correction, fewer encoded characters, a bigger overall QR code size, cleaner contrast, and more empty space around the code. Without those changes, the code may become unreliable on packaging, posters, menus, signs, or screens viewed from different distances. A code that works in a bright office at arm’s length can easily fail outdoors, under glare, or when someone is scanning from several feet away. If branding is the goal, it is usually better to increase the overall size of the QR code rather than dramatically enlarging the logo inside it.
How does error correction affect the size of a logo in a QR code?
Error correction is one of the biggest factors that determines how much logo coverage a QR code can tolerate. QR codes are designed with built-in redundancy, which allows scanners to recover some missing or obscured data. This is what makes it possible to place a logo in the center in the first place. Higher error correction levels provide more tolerance for obstruction, which means a well-designed code with a logo has a better chance of scanning even when part of the pattern is hidden.
However, higher error correction is not a free pass to make the logo as large as you want. Increasing error correction also increases the complexity and density of the code, which can make the modules smaller and harder to read if the overall code size stays the same. In practice, that means you need to think about the entire design system, not just the logo size in isolation. If you want a larger logo, you may also need to simplify the encoded content, enlarge the QR code physically, maintain a strong quiet zone, and preserve high contrast. The smartest approach is to use a suitable error correction level, keep the logo in the recommended range whenever possible, and validate the finished code under realistic scanning conditions rather than relying on theory alone.
What design factors besides logo size affect QR code scannability?
Logo size is only one piece of the puzzle. Contrast is critical. A QR code should usually have a dark foreground and a light background so camera sensors can distinguish the modules clearly. Low-contrast color combinations, gradients, busy backgrounds, or transparent overlays can hurt scan performance even if the logo itself is modestly sized. The quiet zone, which is the blank margin around the QR code, is also essential. If that clear space is too narrow or interrupted by surrounding graphics, scanners may struggle to detect the code boundary correctly.
Module density matters too. A QR code containing a long URL, tracking parameters, or other extra data often becomes denser, which means each small square has less room for error. In those cases, a central logo has a greater impact because it covers a larger number of modules. Physical size and intended viewing distance are just as important. A code on a business card needs different sizing than a code on a storefront window or event banner. Print quality, screen resolution, glare, curved surfaces, and material texture can all affect readability. In short, a successful branded QR code depends on the combined performance of logo size, code density, contrast, quiet zone, output quality, and scan testing across real devices.
How should I test a QR code with a logo before publishing or printing it?
The best way to test a QR code with a logo is to treat scanning like a real-world user experience, not just a quick internal check. Start by testing on multiple smartphones, including both iPhone and Android devices, and use both native camera apps and common third-party scanning apps if relevant to your audience. Scan the code at different distances and angles, and test it in bright light, dim light, indoor lighting, and situations with some glare or shadow. If the code will appear in print, test an actual printed proof rather than relying only on an on-screen version.
You should also test at the final display size. A QR code that scans perfectly when enlarged on a desktop monitor may fail when reduced onto product packaging or a flyer. If the code will be viewed from several feet away, verify that it scans from that distance on typical phones. It is also wise to compare a few logo sizes, such as 15%, 20%, and 25%, and see where reliability starts to decline. If scanning becomes inconsistent, reduce the logo, simplify the encoded content, increase the QR code size, or improve contrast and spacing. Thorough testing is what turns a visually attractive branded QR code into one that performs reliably in the real world.